
Team PAYNTRIX 2010 Hovercraft Challenge entry
Welcome to my hovercraft design studio
The lift motor will run from channel 6 on the controller as it only needs all on or idle.
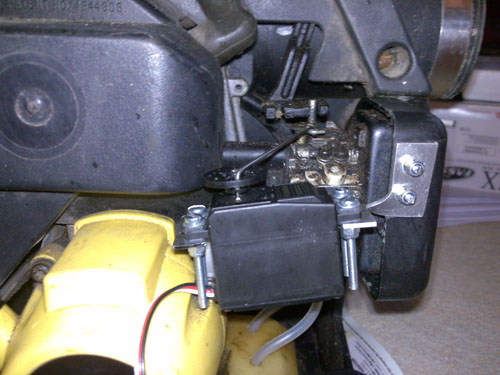
I fabricated some brackets to hold the servo, drilled into the carb operating arm and attached a link arm
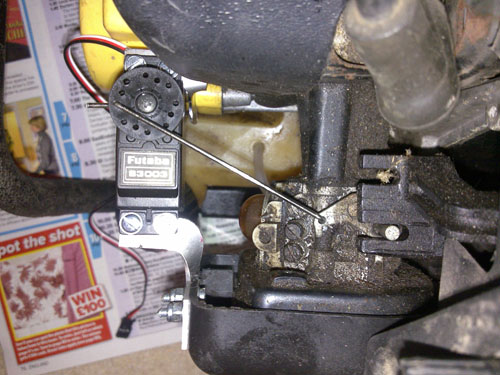
This does obscure the fuel pump prime buble, but it is still accessable enough.
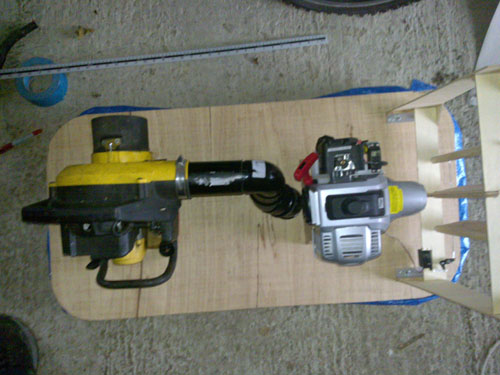
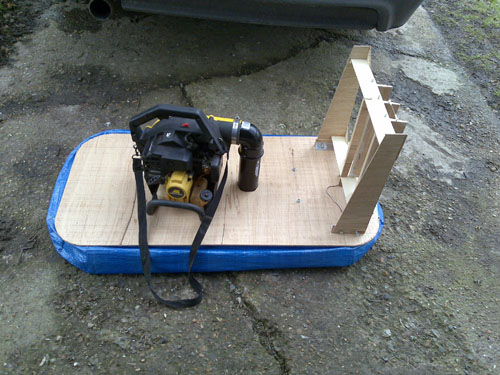
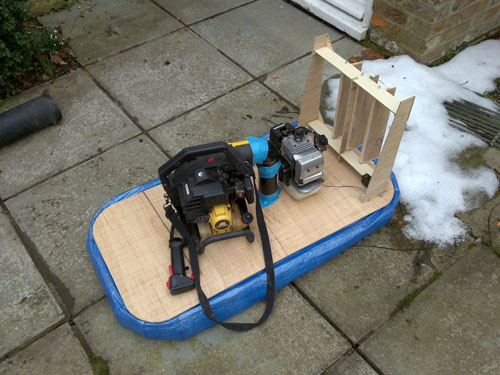
Due to the miscalculation of the steering size and weight and the nose cone of the thrust engine, everything needs to move forward to get the weight balance correct.
So the stack that earnt it the name of Titanic, had to be re-developed.
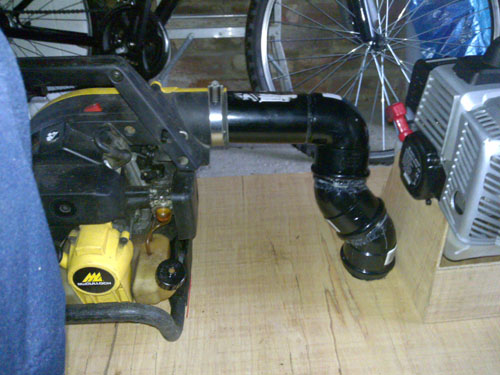
This allows the thrust engine to move right back against the air tube and gives near perfect weight balance
And so on to the final stage of the lift workshop. The first flight.
So, I've attached the skirt and fitted the leafblower in place
Then add the obligatory gaffa tape to seal up the leaks and fire up the blower
Here she goes, no thrust power yet, this is just gravity at its best......
Now the focus moves to the thrust side of things so the Titanic is parked in the garage.

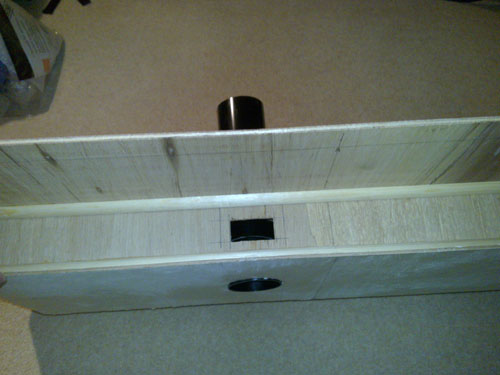
The air tube needs vents in the side to transfer air out to the skirt for inflation
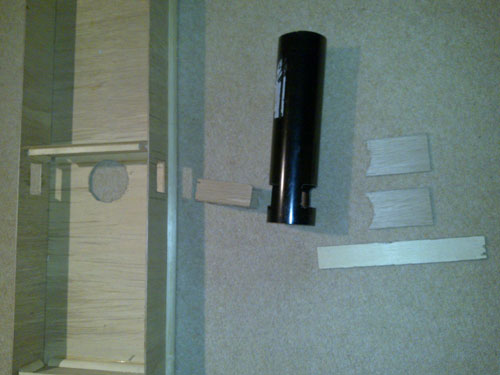
Once all the sections are cut out and an apeture in the tube is cut, use araldite to secure.
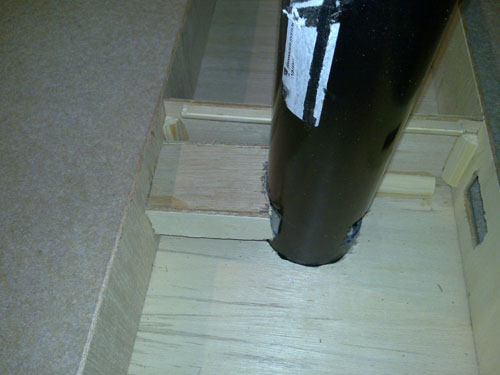
You can now see most of the air goes striaght through to give lift and the small section inflates the skirt.
Skirt build sequence.
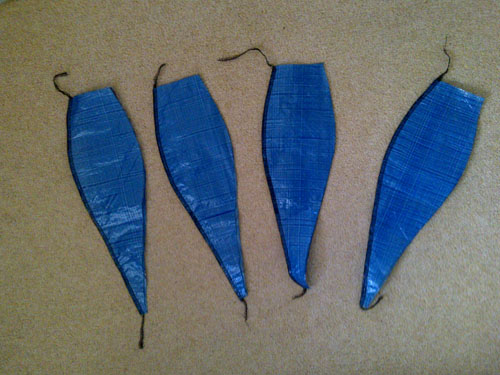
Cut out sections as detailed in Mark Porters plans
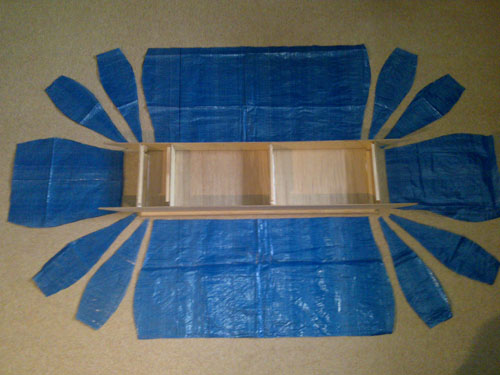
Stitch the No2 sections together in pairs
Then attach them to a No1 section on one edge and a No3 secton on the other edge
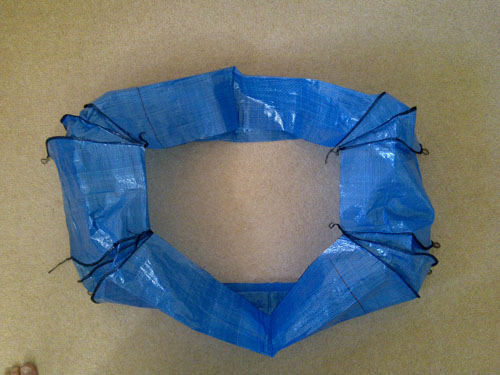
Then flip it out the right way. Shown below obviously minus the upper deck
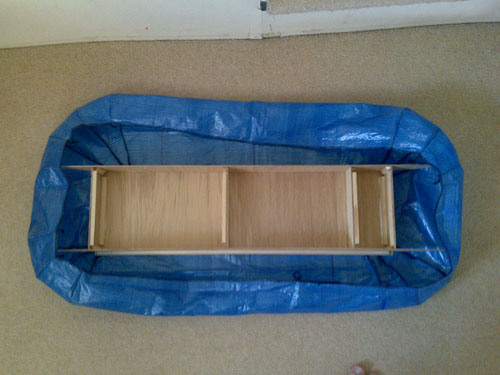
Under side of bag and hull
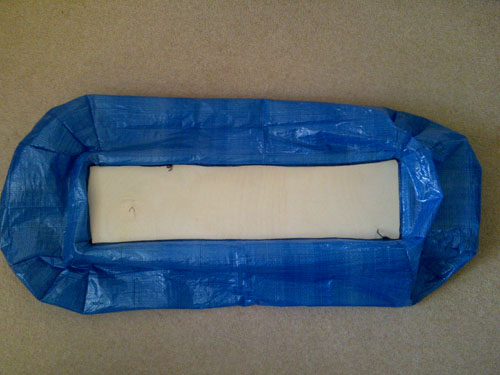
For those who are not the sewing kind, I have not used a sewing machine to make the skirt. I have used an overlocker, which has the advantage of stopping the edges fray. I ran around the upper and lower edges of the skit where they will mount to the hull to improve the strength and reliability. If you don't know anyone with an overlocker, I may be able to assist for an appropriate fee (with receipt of course).
The eagle-eyed amongst you will notice there is no hole in the hull for the air flow. Once I've sorted the weight balance of the two engines I'll cut the hull in the best place to route the air from the blower.
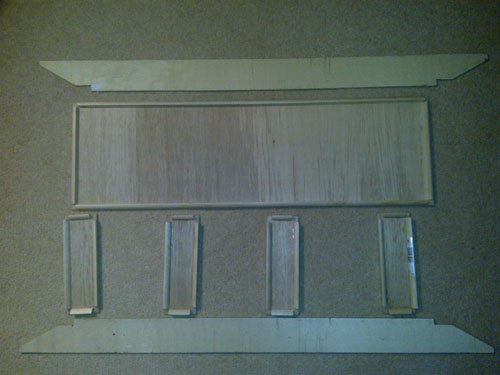
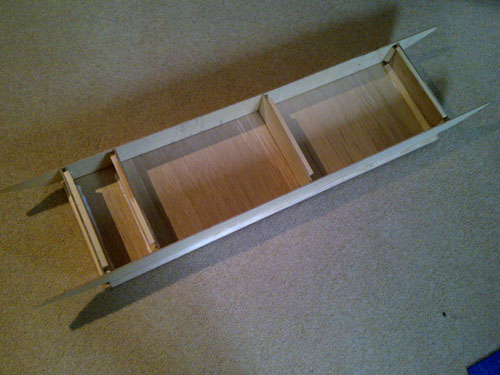
Hull build sequence
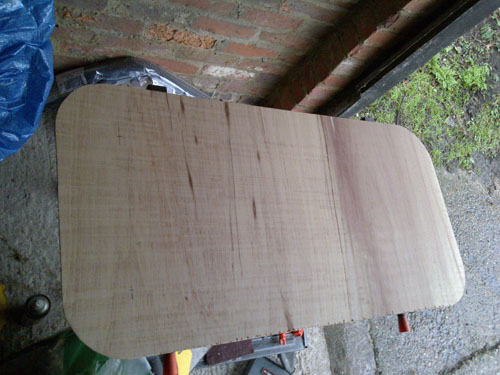
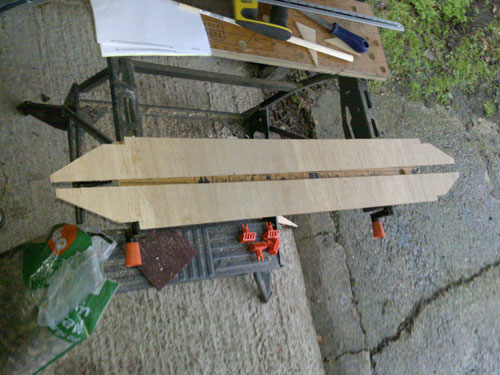
Cut out the hull top deck. 1M x 0.5M, corners r110 6mm ply used.
Cut our hull lower deck 240mm x 790mm from 3.6mm ply

Add edge trim to lower deck
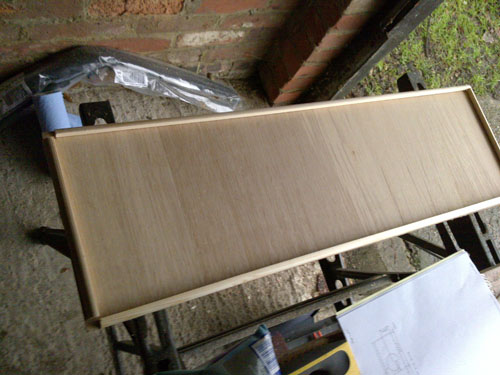
Allow weatherproof wood glue to dry with pressure applied
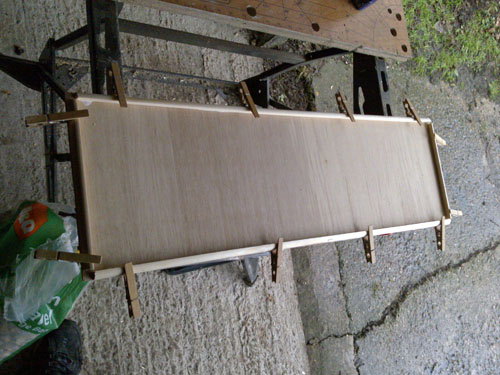
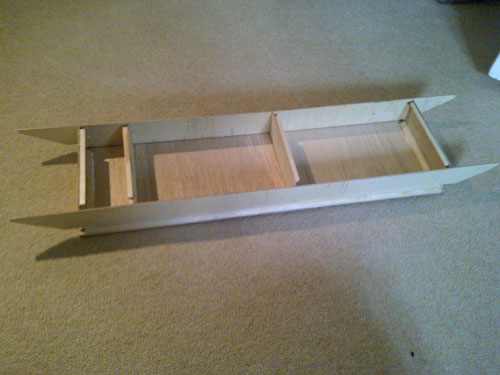
Cut hull side beams 3.6mm ply
Cut bulk heads and edge 3.6mm
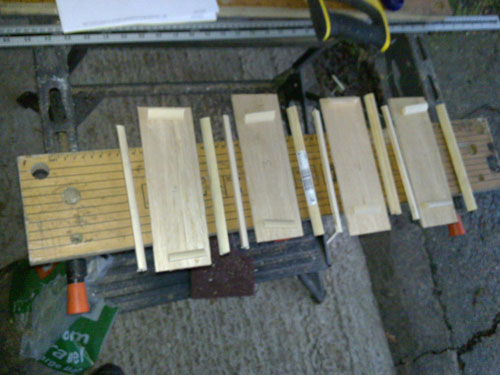
Allow to dry for 24hrs
Once dry, build main hull
The eagle-eyed amongst you will notice there is no hole in the hull for the air flow. Once I've sorted the weight balance of the two engines I'll cut the hull in the best place to route the air from the blower.
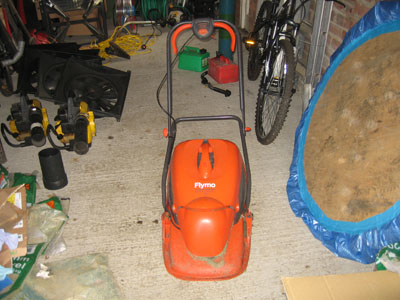
Looking around I figured Flymo must know a thing or two about making things hover, so I bought one.
I managed to get a flymo for £1.20 on EBay so it won't break the budget cap if I use any of it.
Then I set about stripping it down
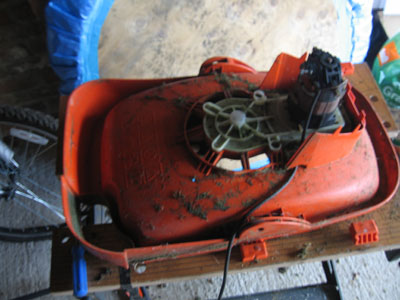
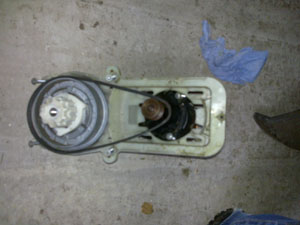
The motor was seized, but the drive belt gearing may come in useful.
I covered off all the ports, and cut a hole for the electric blower.
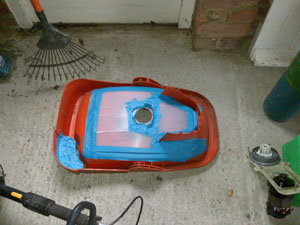
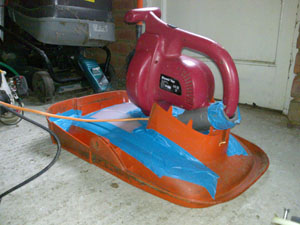
But this didn't work well enough.
I tried adding a simple skirt, but it appears to be a dead end for now.
LIFT
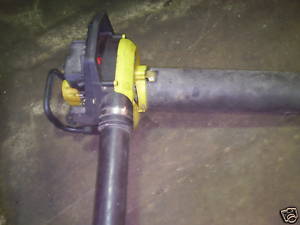
Taking each as separate issues I started with the lift. A quick browse on google and ebay found me a pair of Mcculloch petrol powered leaf blowers for £23. So that's £11.50 out of the budget for lift if it works.
Unable to wait 2 days for delivery, I set about testing skirt designs for lift.
There seem to be two types of skirt that are made, fully open or a ported bag. The simple design for trial is a ported bag.
Get a board, cut it into a circle, cut a hole in it for the leaf blower, lay it on your skirt material and cut the skirt to a circle.
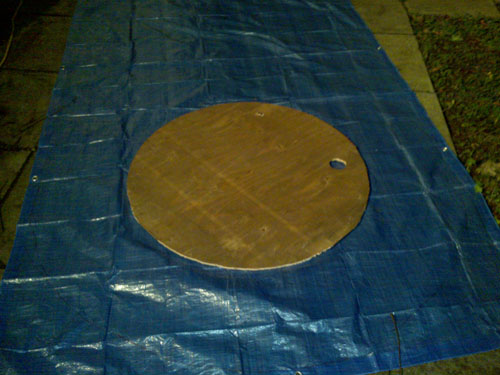
Skirt material is B&Q tarpaulin 1.9M x 2.9M (£4.98)
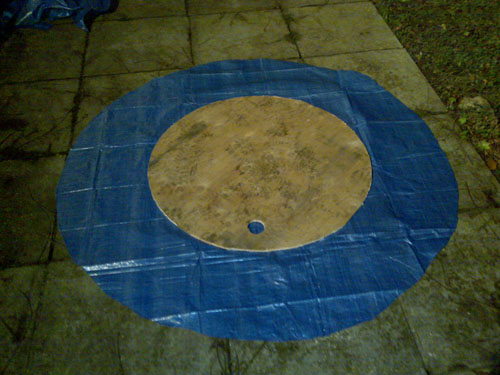
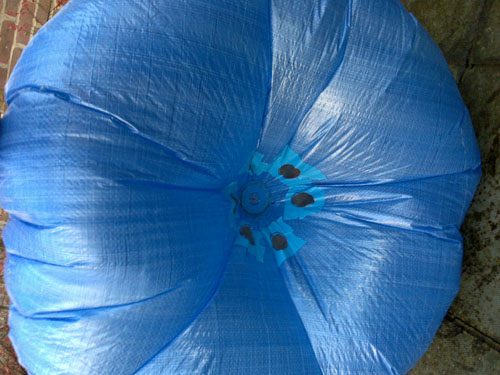
Next, fold it over and secure to the board with staples and tape over the edge to seal it,
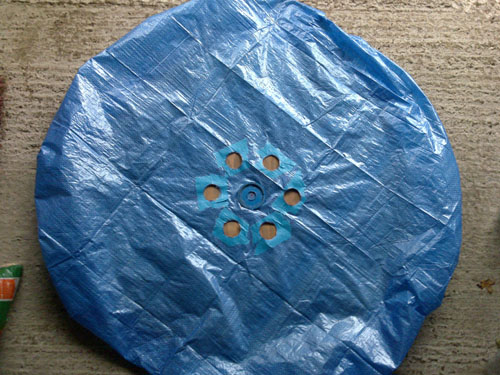
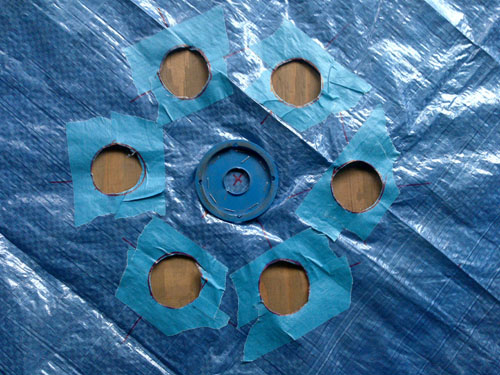
Secure the centre with a disc and then cut 6 ports into the skirt. I taped the edges to reduce the risk of fraying, then shove the leaf blower into the hole.
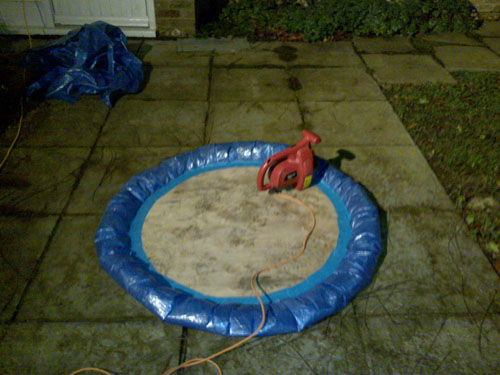
Then switch it on......
You'll notice that the blower is not sounding correct at the start, this is because the blower port sticks out the bottom of the main board and rests on the skirt material. Once I lifeted it up it allowed the air to inflate the skirt and it was away.
Click belowto play
Now to test it's power. Once it's inflated check the ride height. Next add 25Kg of ballast and see what the deflection is.
Click below to play
So we have lift.
Next steps are to determine the optimum skirt size and get the petrol blower on board.
Then on to thrust.....
